Showing posts with label pretty. Show all posts

Wednesday, June 19, 2013

GIANT WOLF SPIDER ♡

I found this wolf spider about a year ago when I was walking back inside from my garage. It was sprawled out bigger than my hand in the crease of the door. I killed him as I kind of had to to get inside and him not. I now keep his little (big) body in a clear box to display him.


Hugeeeee!
 
 
xo


Tuesday, June 18, 2013

VET CUTIES ♡

When Molly was a few months old ( around Christmas ) we took her to the Vet to get her shots and heartworm/flea/tick medication and all the goods. There was the cutest little fur ball roaming around like he/she owned the place! I of course took a few pictures when the lil baby came into our exam room. =)

Such a cutie! & since it was December they had the cutest little DOG & CAT ceramic Christmas tree's out. =) I'd like to find them for myself!


Love them! <3 <3 <3
 
& upon checking out, this little beauty was lounging on the counter. I love Vets!


xo
 

Thursday, June 13, 2013

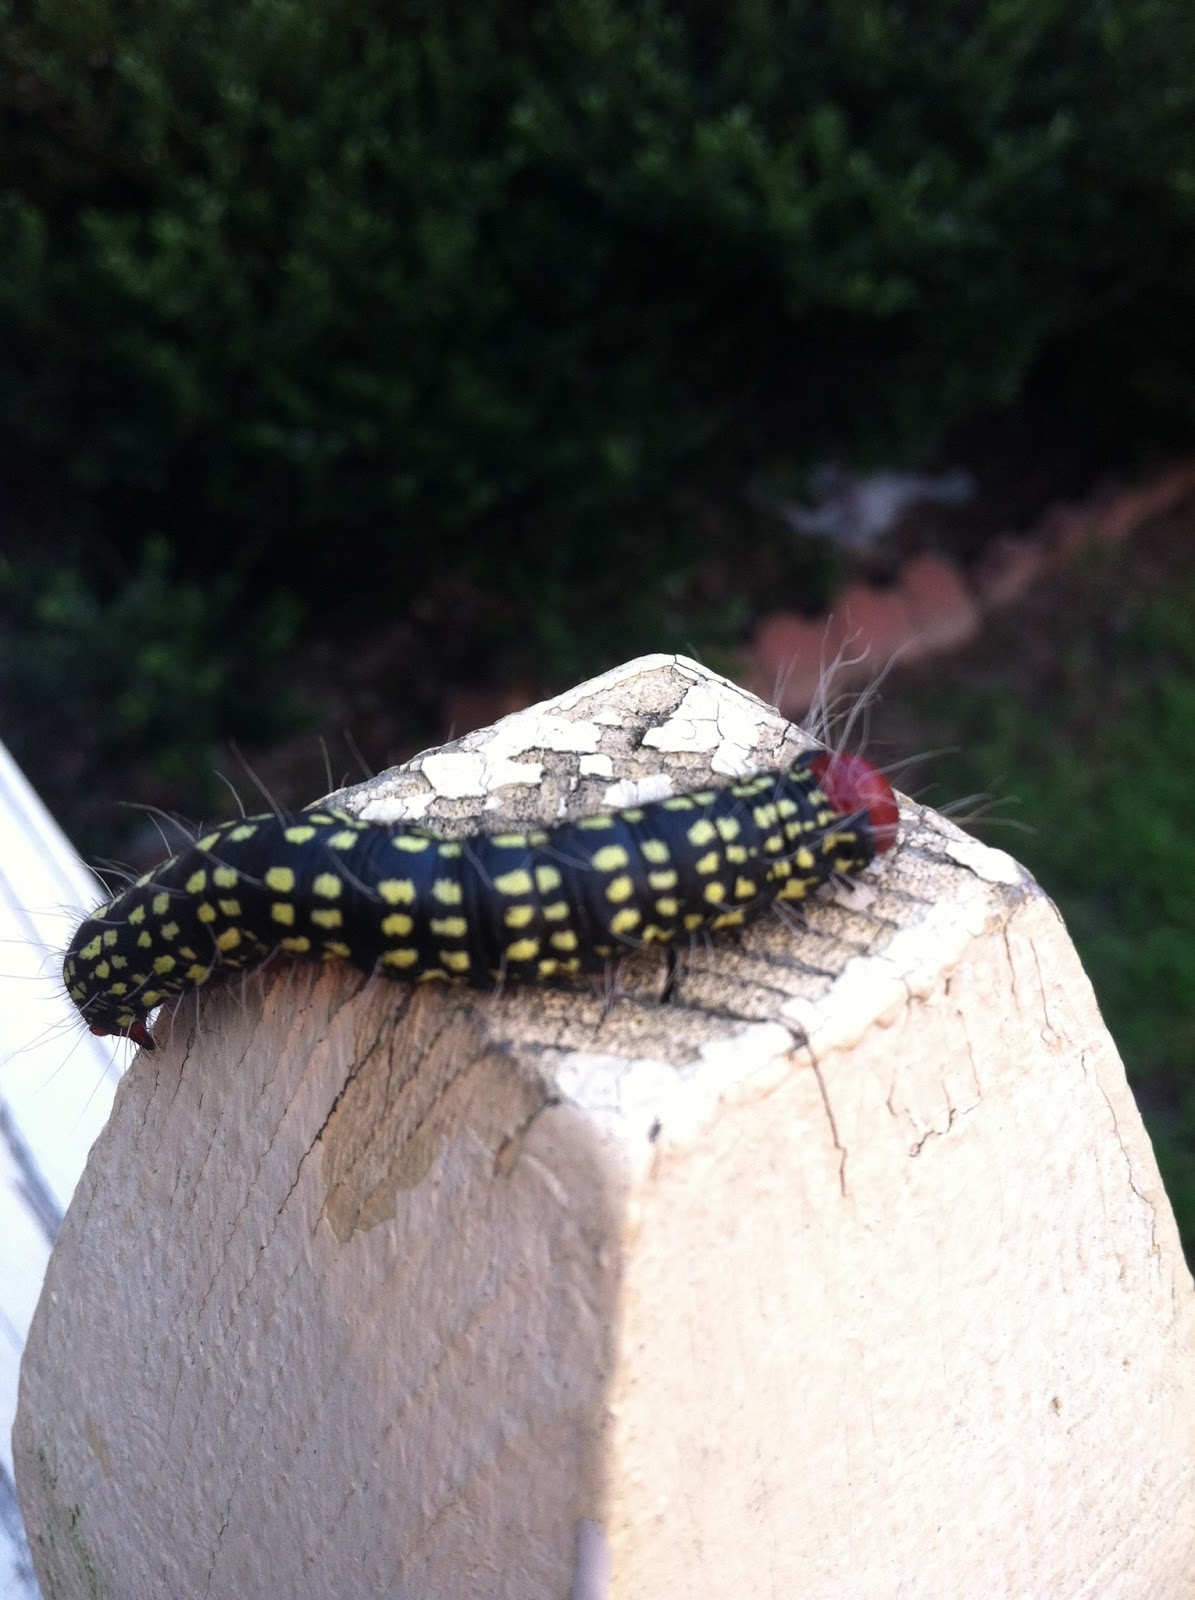
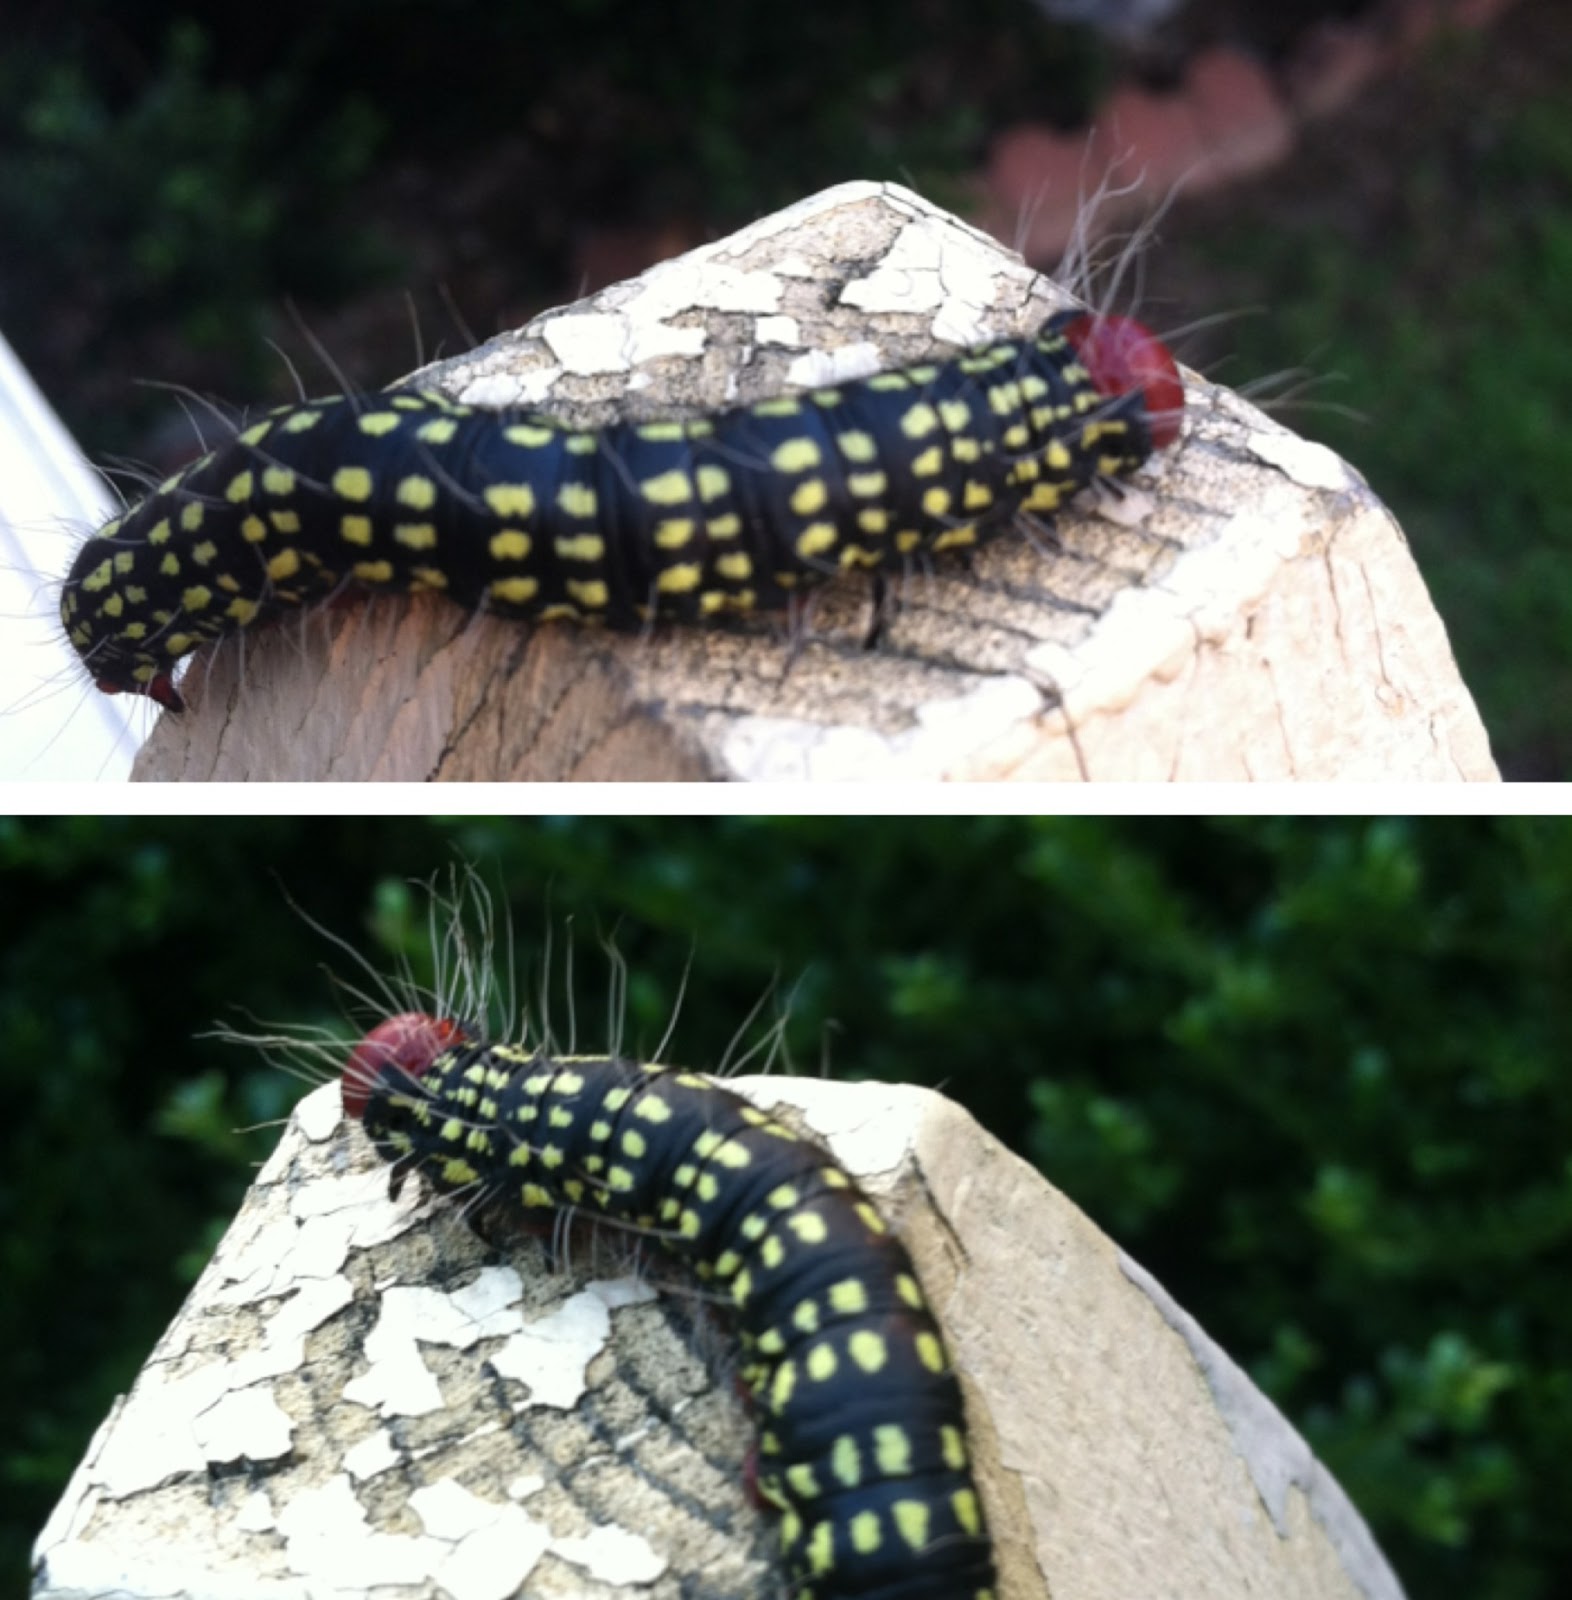
AZALEA CATERPILLAR ♡


I google'd red headed caterpillars and found out this is an Azalea Caterpillar.
So pretty


Here are some images I found of Azalea caterpillar moths


Just as pretty as a moth as when it's a caterpillar =)
 
 
xo
 

Friday, May 10, 2013

BUTTERFLY MURAL ♡


Never know what you're going to see driving around here! I love butterflies.


xo


Thursday, May 9, 2013

HALLOWEEN FAUX BURNING CANDLES DIY ♡

EASY HALLOWEEN FAUX BURNING CANDLES DIY


You'll need:
Wrapping paper tubes or paper towel tubes or TP tubes, hot glue gun & glue sticks, flat black spray paint, and battery operated tea lights from Dollar Tree.
 Pretty and no fire danger!

 
After picking the perfect spot for each tube, I glued them together to stay in place, then hot glued around the rims (drippy & wax-like) & finished it off with a few coats of flat black spray paint.


before & after with battery operated tea lights.


Such a beautiful Halloween decoration! I almost wish I could keep it up all year long. The flicker of the tea lights is so realistic and lovely. I bought so many packs of tea lights @ the dollar tree. They're the best invention! The only thing I would change about my finished diy would be - to have only used the paper towl and wrapping paper tubes (taller/longer tubes). I used mainly toilet paper tubes & glued many together to make them taller, leaving a not so seamless look. But being October when I made this, I had a few months before wrapping paper season and used what I had.


I will definately be making more again this year! My house will be a flickering candle castle!


^ THIS IS THE PINTEREST PHOTO I USED AS A REFERENCE WHEN MAKING MINE.


Such a fun craft and beautiful outcome! Start saving your tubes & try it out.


xo
 

Wednesday, April 24, 2013

ORANGE TEA LIGHT DIY ♡

I did this last summer.. when I first saw it on PINTEREST. (of course)
It was super easy, super FUN and super cute!

Here are my pics!

Excuse the messy counter. This was a year ago & I forget what I was making. Probably chicken salad, haha. (go-to chicken salad post for recipe)


So pretty & it actually works really well. (minus the tippy tips getting a little crispy after a while)

 
Just peel it the proper way (as I kindly did-not photograph). Keeping the long wic-like pulp strand in your orange for lighting.. like a wic.
 
Here are photo's from PINTEREST which are better at explaining.


 I LOVE this DIY! You can personalize it anyway you want. I didn't think about it at the time I made my jagged design in my orange, but you could carve just about anything into your orange peel. Names, flowers, cute phrases, stars, anything!
 
If you want it to last longer keep an eye on it and refill the oil.
 
Try it next time you eat an orange!
 
 
xo